Logging Single Clips
The instructions below will help you quickly get your footage online and available for licensing with a basic log for single clips.


- Mouse over the clip you wish to log and click the edit icon
 to enter clip edit mode.
 - In clip edit mode, complete all the required fields marked by a red star *.
- The screenshot below highlights (in red boxes) the required fields needed to be completed in order for your footage to go online: Clip Description, Category, License Type, Price Level, and Location.
The required File Format fields Submission Codec, Frame Size, and Frame Rate will auto-populate from the information in the Format Metadata; these three format fields cannot be edited.
Please note that the File Formats fields are collapsed by default. Click on the "ADD FORMATS" button to expand the File Formats section. - Click the Save Data button when you've finished.
- A green dot • will appear next to the clip ID indicating that your clip is now online.
These are just the required logging fields, but we recommend including any applicable keywords from the other available logging fields (Shot Type, Subject Category, Primary Subject, etc.) on your clips as well, as this will help your footage appear in a greater number of searches and be more visible to clients. Tips on choosing keywords for your clips can be found in the help article below:
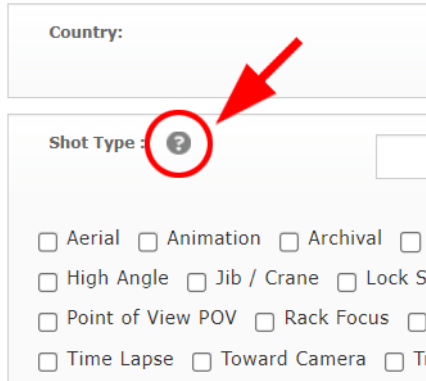
You may also notice that next to the title of each keyword field is a question mark icon. Hover your mouse over these icons for helpful logging suggestions:
Related Articles
Logging Multiple Clips (Batch Log)
The instructions below will help you quickly get your footage online and available for licensing with a basic log for a batch of clips. The multiple clip (or batch) edit mode functions in the very much same way as the single clip edit mode. The key ...Logging Tips
TIP #1: Duplicate Keywords Only one instance of a keyword needs to be entered in ClipLog for the keyword to be searchable. It is NOT necessary to duplicate keywords. However, if the main subject of your clip is identical to one of the pre-existing ...Intro to Cliplog
In this help article, you will learn how to navigate through Cliplog and how to find your footage in Cliplog after it has finished uploading via your NatureFootage account's Submission Upload Page. For information on how to upload footage, please see ...Basic Log
WHAT IS A BASIC LOG? A basic log is the minimum amount of logging that is required in order for your footage to go online. This involves completing all the required fields in the clip edit window. When your footage is first uploaded to Cliplog, by ...Metadata Import Sheet
An alternative to logging in Cliplog would be to log your footage using our custom Metadata Import Spreadsheet. You can download our Custom Metadata Import Spreadsheet straight to your computer as an Excel file below. We use the metadata import ...